How I Traveled with My Large Format Camera
Traveling on a bus, or a train, or a plane has always been stressful for me. Even before I called myself a photographer, I became anxious at security checks. I just generally get anxious around a lot of people. I like to be the outside observer looking in from the safety and comfort of the sidelines. It didn’t help my anxiety when I took up photography and started to travel with film. Now the security checks need to have the interaction as follows, “Can you please hand check my film and not x-ray it?” I try my best to be polite and keep my cool, but I always got tripped up on this because of reasons stated earlier. Luckily for me, I have been getting better in these situations. Practice makes perfect, plus I have had a lot of help from my fellow photographers who have guided me to success. Here, I want to share my journey about traveling with my large format camera for the first time.
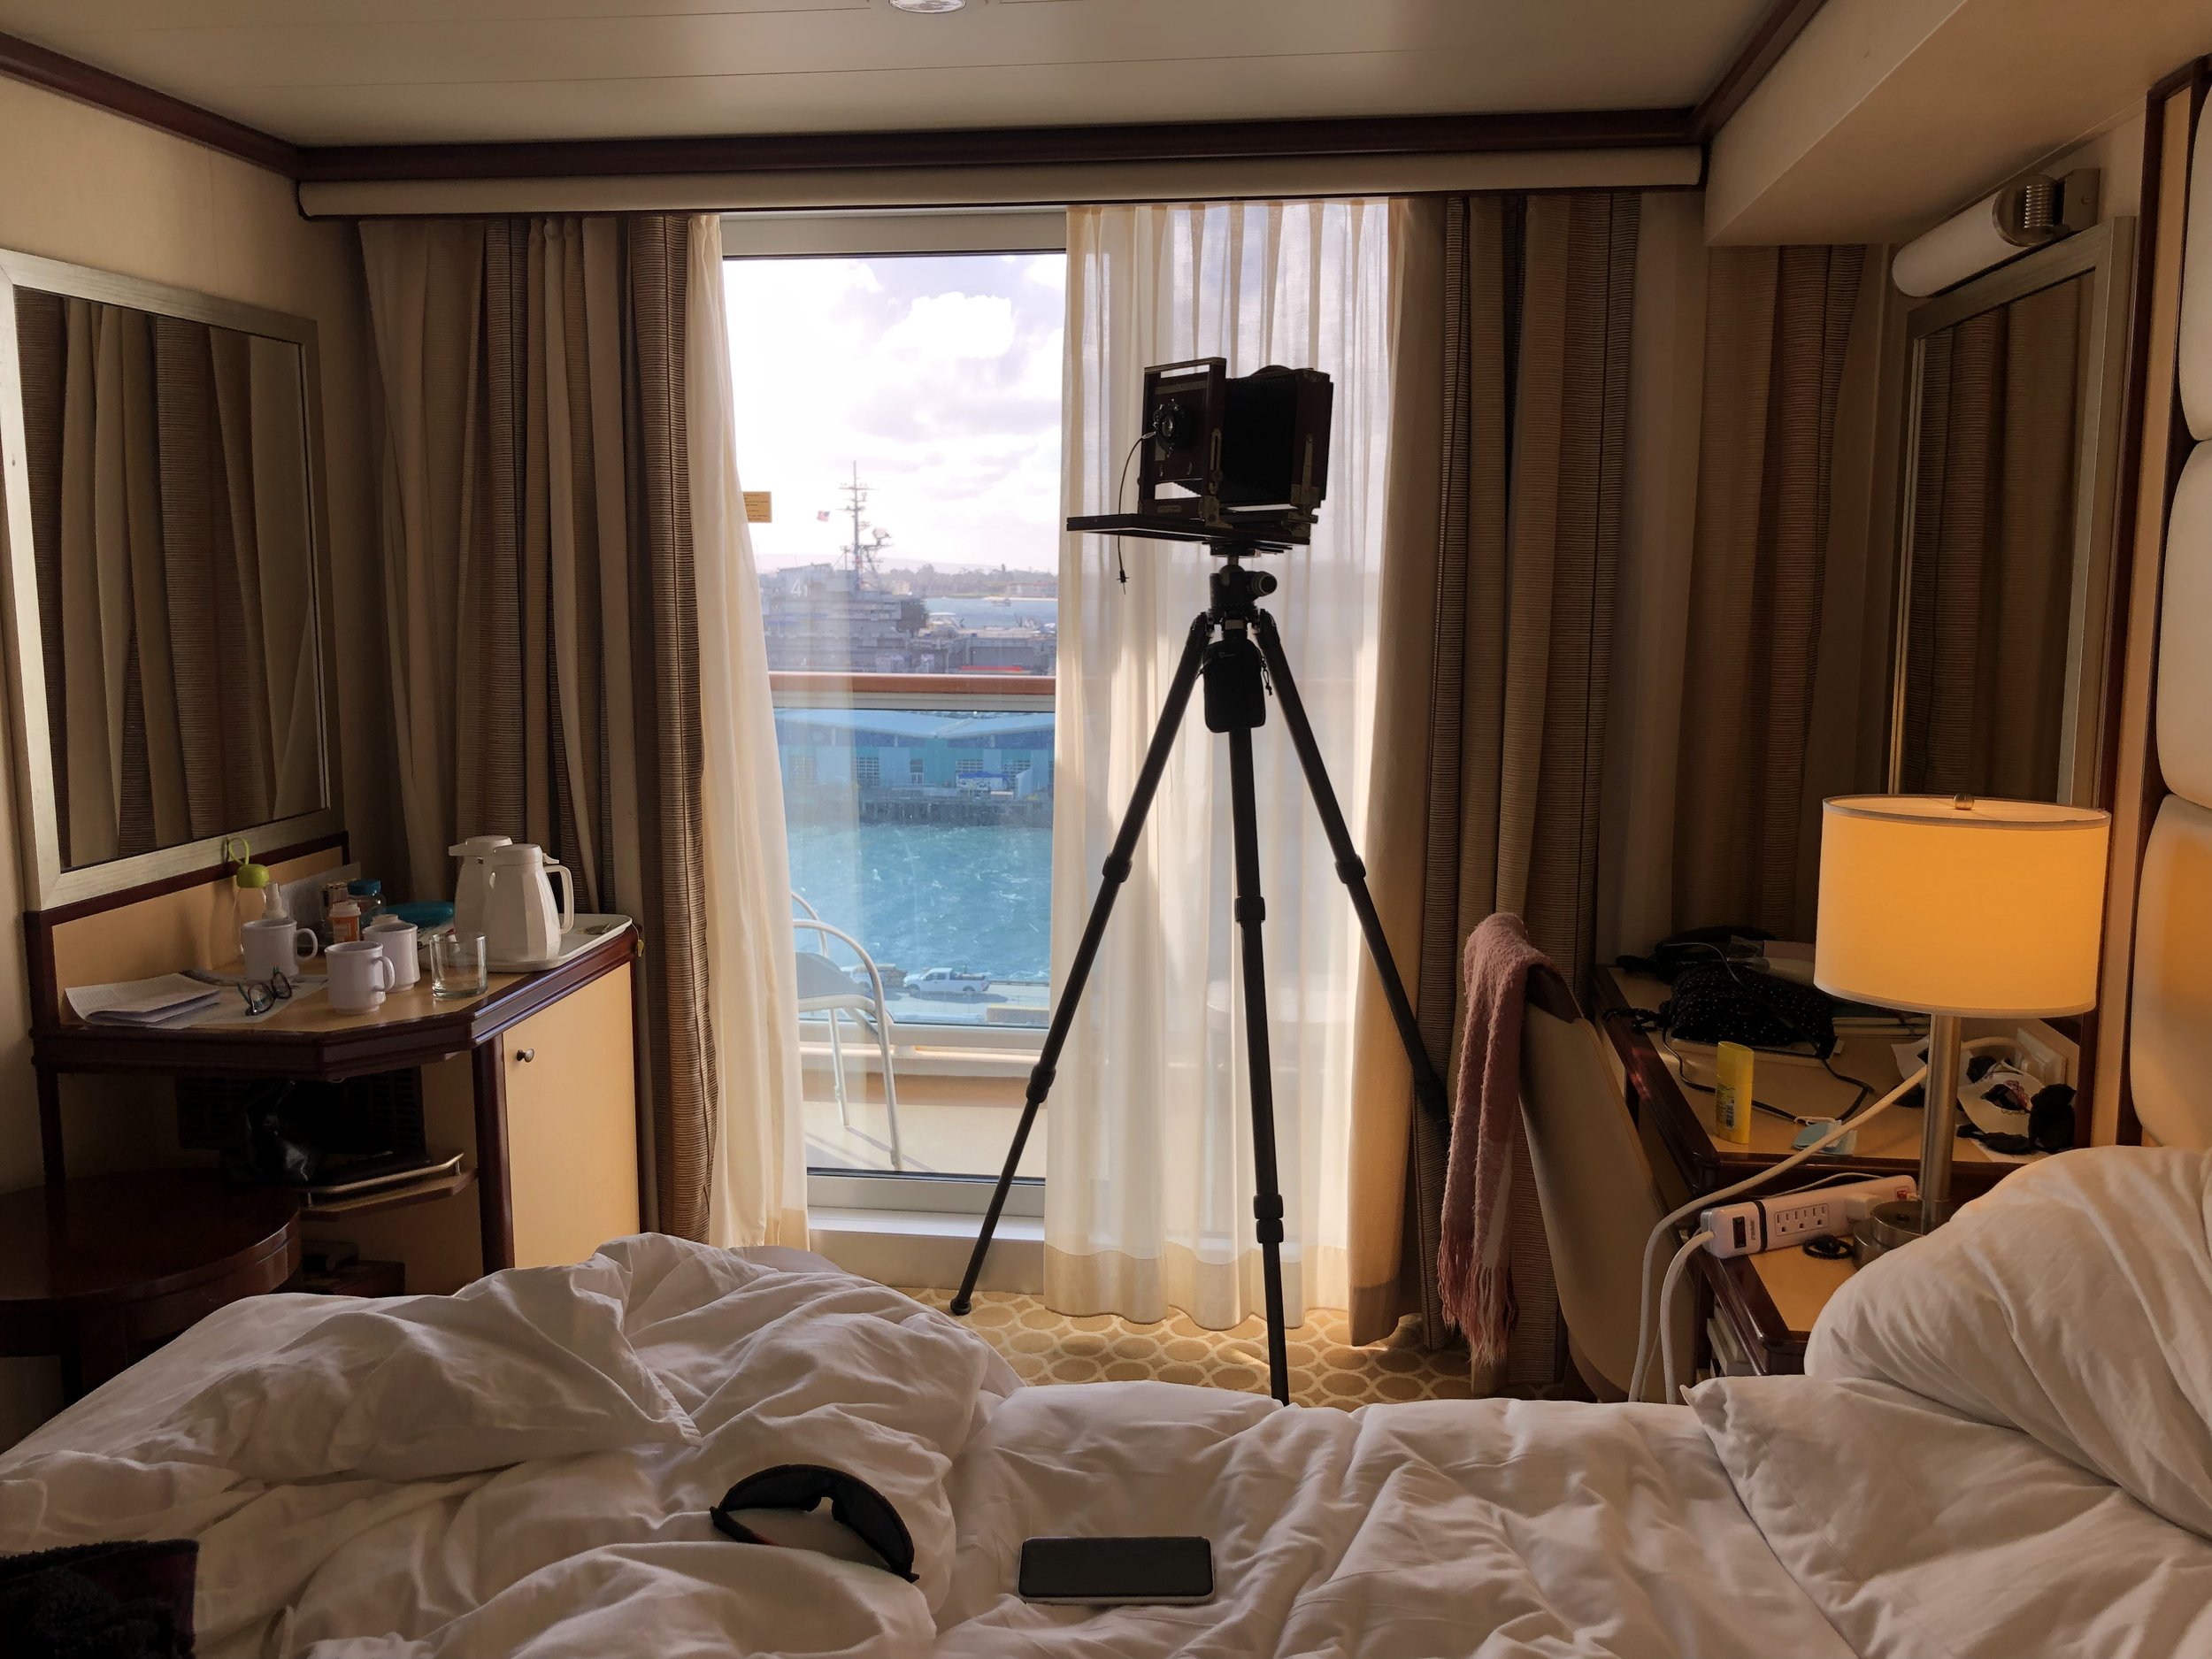
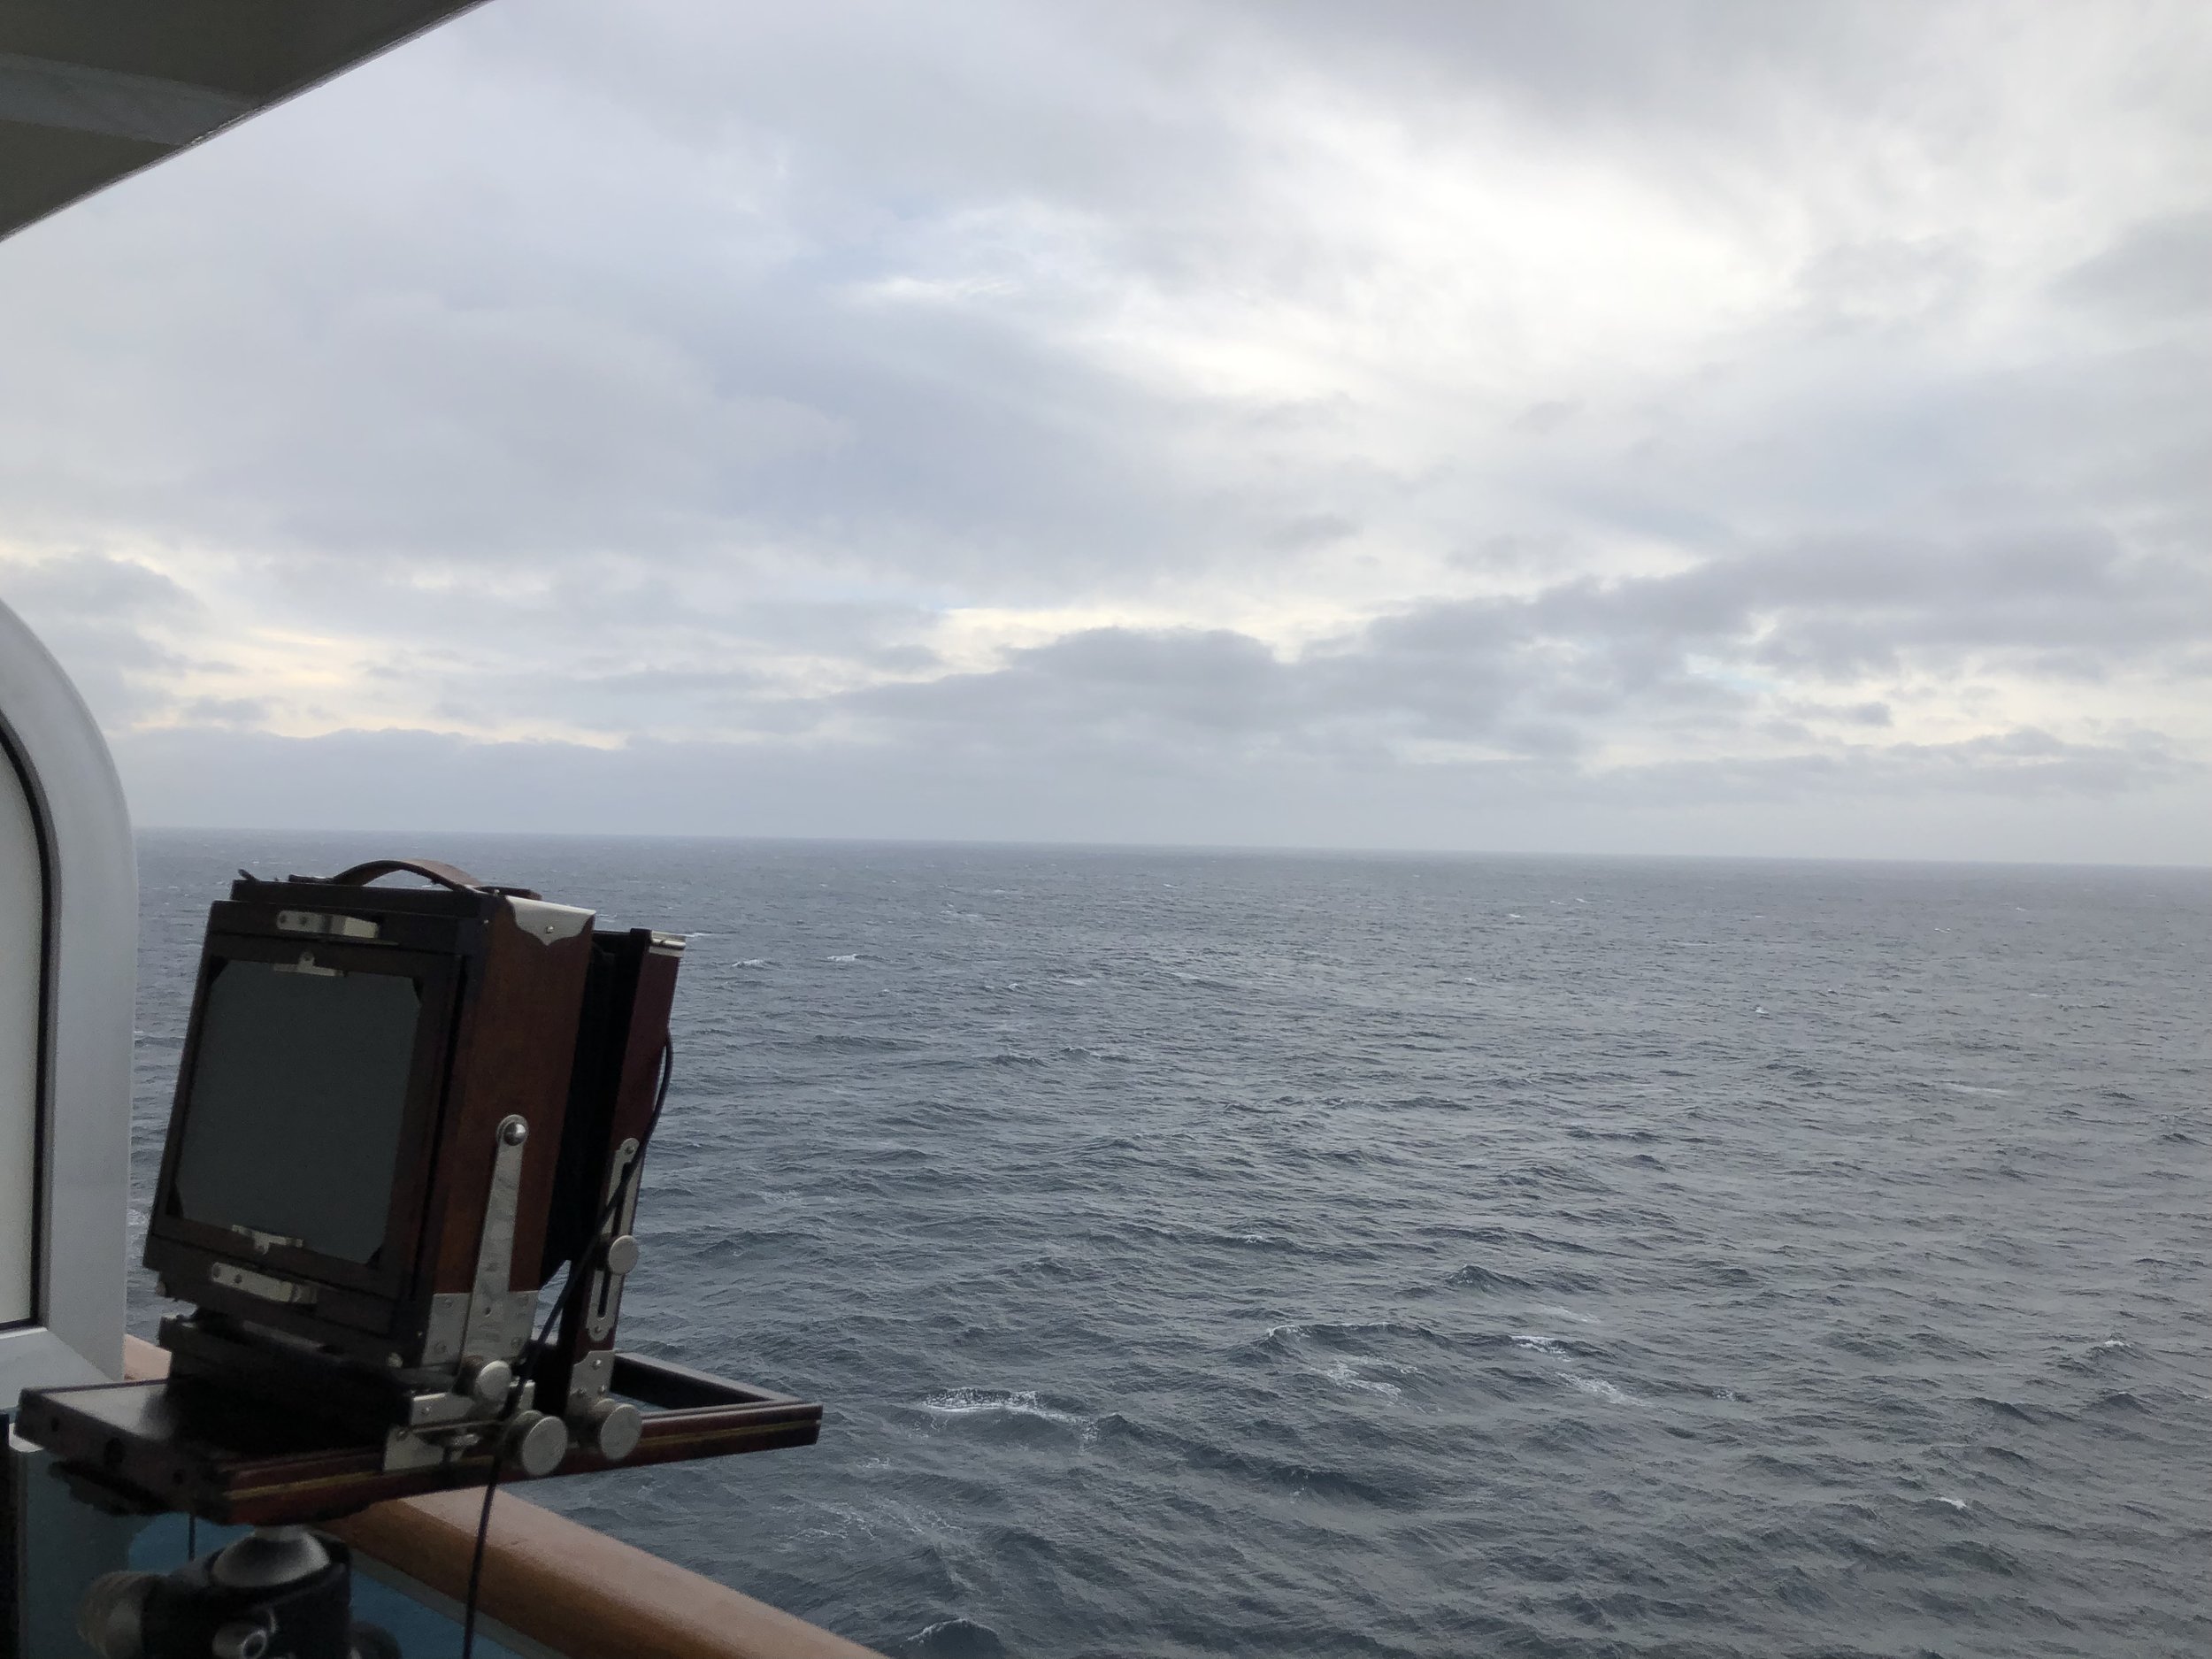
Taking your camera to location is part of the experience that every photographer walks. I have taken my camera to a few interesting places locally, but this year I wanted to travel with large format. Ever since last year, when I tried to fit my large format gear into my carry on luggage. I had been fantasizing of traveling with it, but I wasn’t prepared because large format is; well large. No matter how I stuffed it, it was not making it. So I had to unpack, sadly leave it behind, and plan for another day. Since that day I wanted the freedom to take my 5x7 camera to any destination I could imagine and after being inspired by a couple videos. A carry-on security case (Pelican/Nanuk/etc..) fit the bill perfectly. After many comparison videos, I opted for the Nanuk 935 with foam. Here it is with my Gundlach Korona 5x7 View Camera seen here:

From Left to right here is my layout in the case for anyone curious about large format photography travel:
Bottom: Extra tripod accessories, extra batteries, normal lens (210mm), lens cap and filter adapter.
Middle: 5x7 inch view camera with long lens attached (305mm), lens wipes tucked in between foam and case.
Top: Filter adapter for 305mm lens, exposure notebook, 3 5x7 inch sheet-film holders, tripod wrenches, extra bubble level.
I went with this style case because when it is shut it is tight as a drum. Nothing moves thanks to the foam inserts and it is described as indestructible, waterproof, life-saver, etcetera… I’ll take that with a grain of salt, but what I like is that I can sit back and relax, not having to worry about my equipment, leaving me free to live life to the fullest because I can focus on more important things.
You might be thinking, that’s not everything, right? And you’re right, it’s not. I did not opt for a travel style tripod, they are way too small and flimsy for large format (Speaking from experience). I have my full size tripod and the rest of these items in my check in luggage:

Tripod + Head
Dark cloth
light meter
135mm lens in hard case
Color filters
Cable release
10x Loupe
Flash
So, that’s basically it as far as packing goes. All the rest of my belongings were simply jigsawed inside my check in bag on top and around my tripod and other things.
All the film goes with me on my person, so I can kindly ask TSA to hand check all my film. As you can see, I brought not only sheet film, but 35mm film. The important thing here is when it comes to boxes of film I found this great template from Alex Burke’s Article. I used this and it works like a charm! One other thing, I gladly let them x-ray my Nanuk case because the film holders were empty. All my film I traveled with was inside this zip-lock bag. Even my Leica in my backpack was empty.
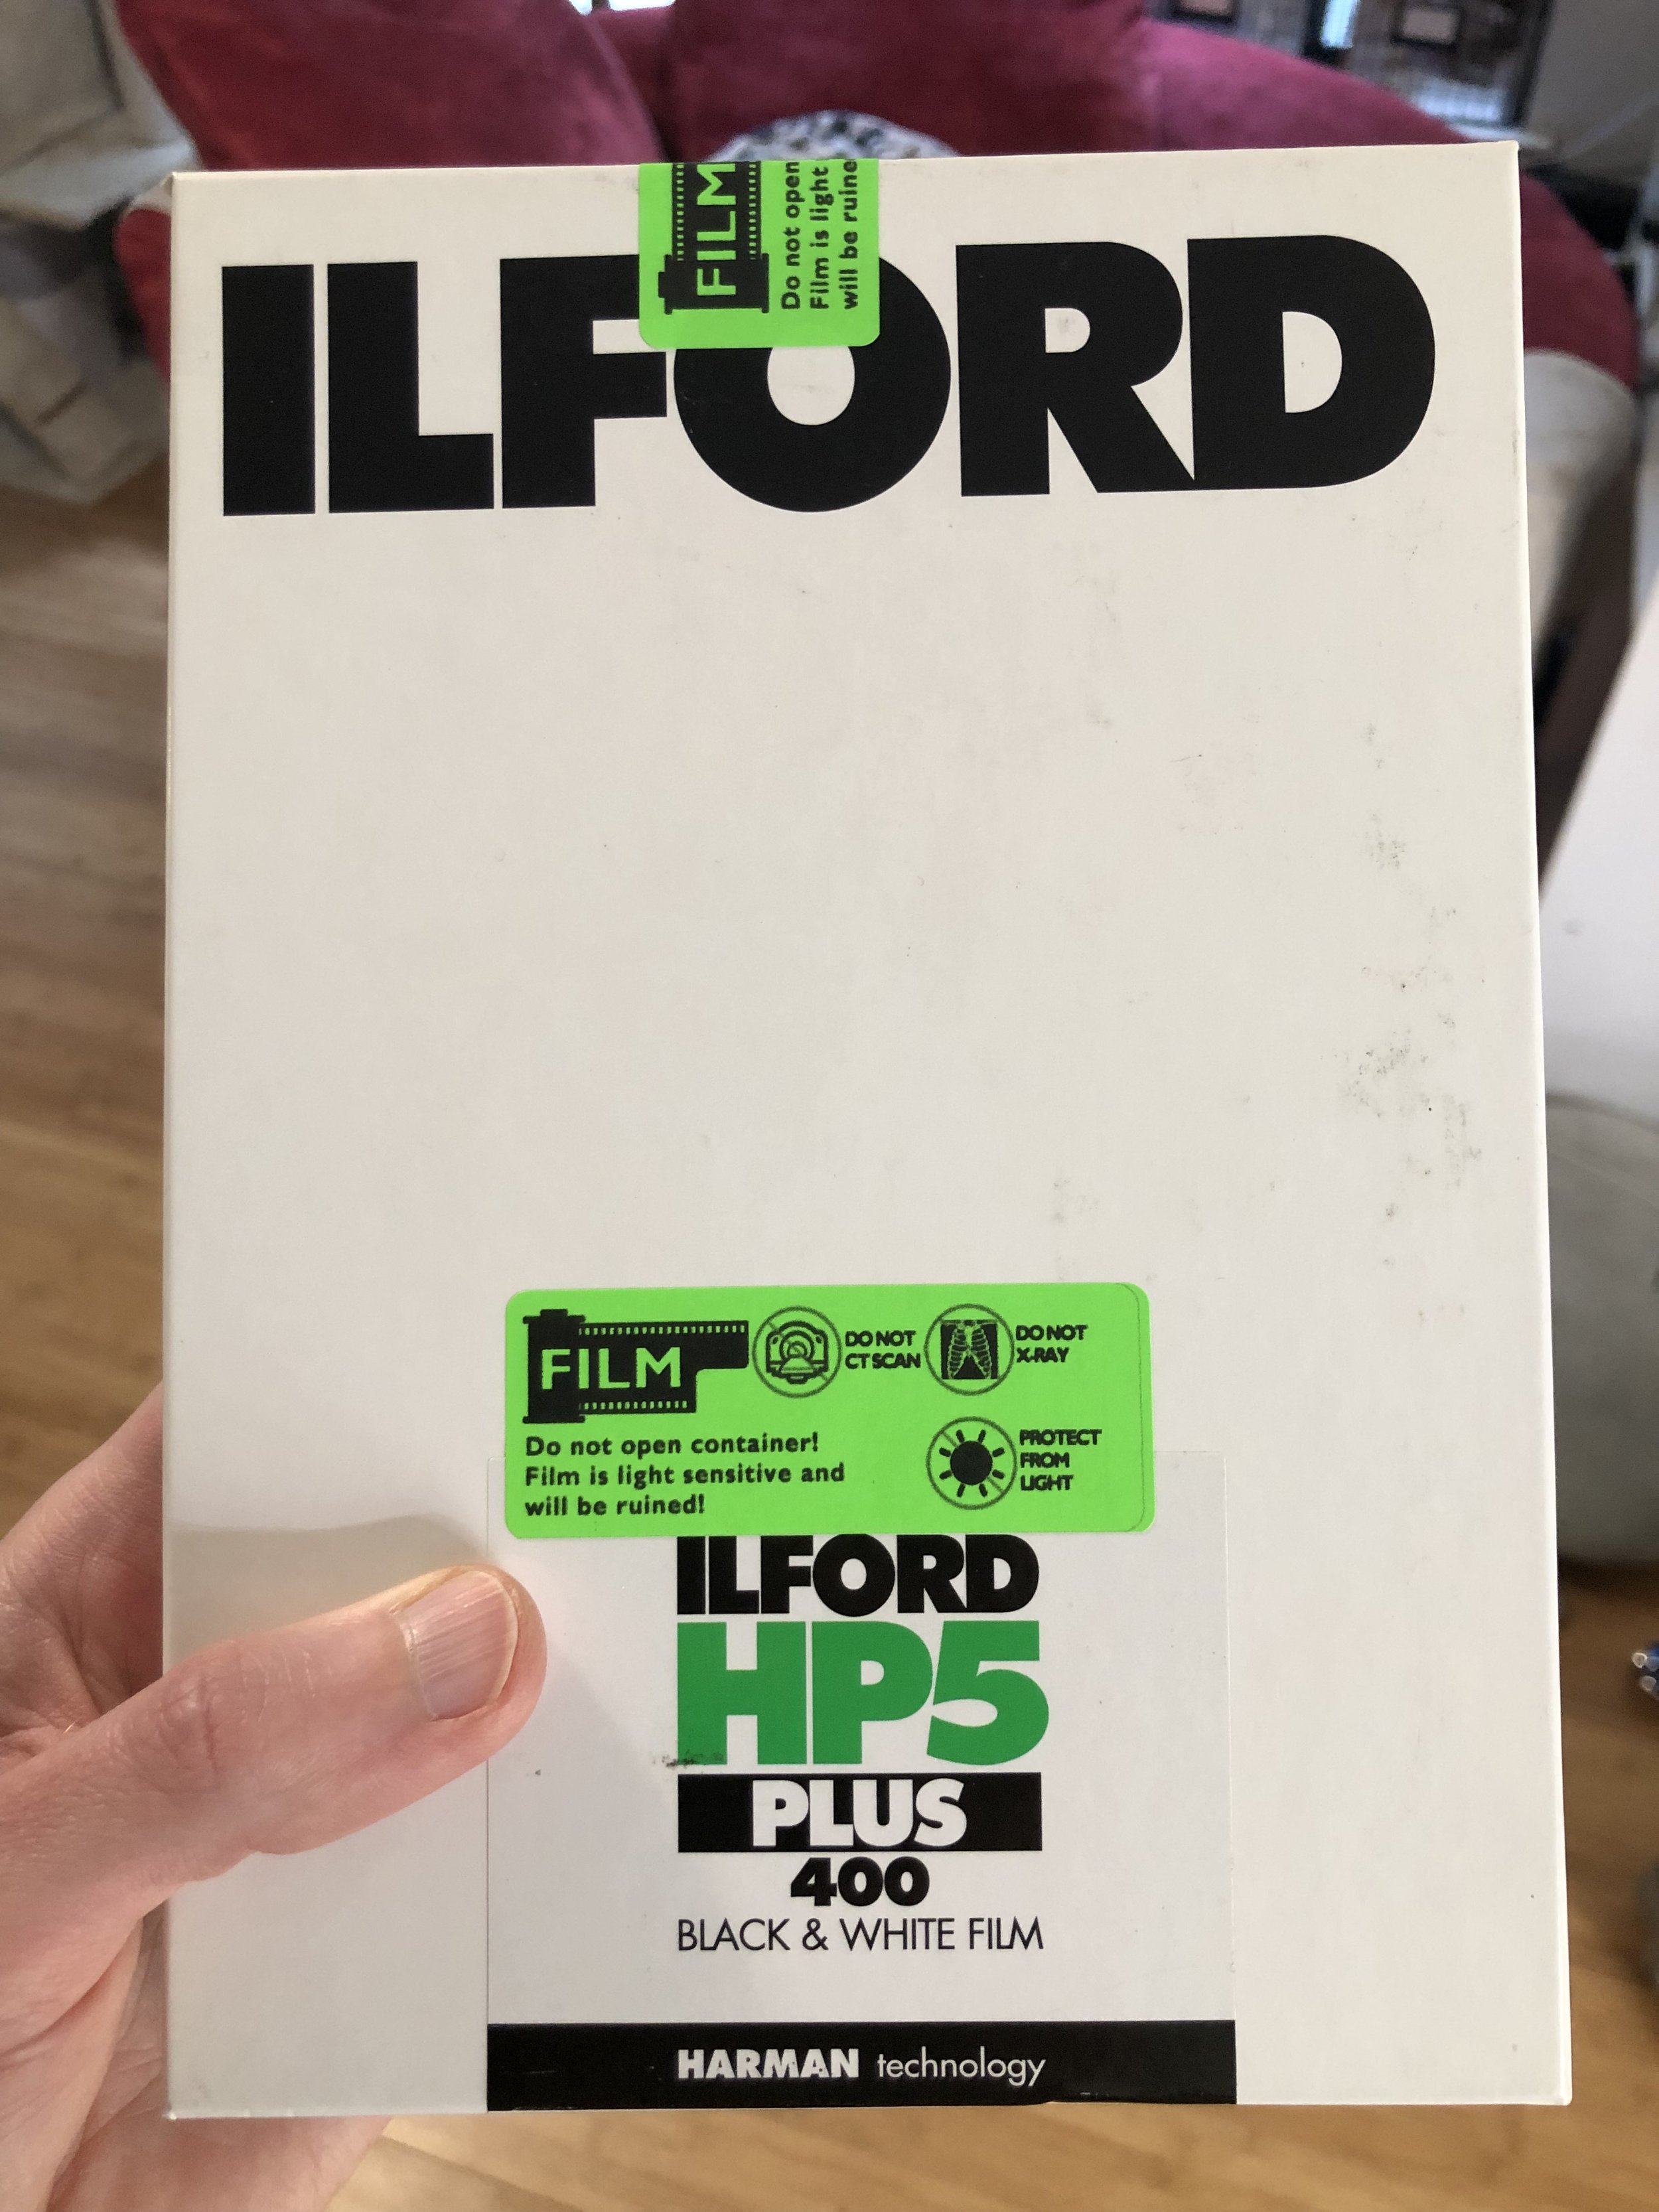

The real challenge began when I got on the ship— Getting film in the holders and keeping track of them. As you can see, I brought 2 boxes, One is unnoppened HP5+, the other one is empty Arista EDU 100. Once safely aboard and settled in, I was planning to load the HP5+ film to holders, expose them when needed, then place the used film inside the Arista EDU 100 box after exposure. I even kept track of push and pull by layering sheets of paper between the film.
This took some serious brain power, but I figured out I could carefully stack my exposed film in one box. Inside a paper envelope I inserted notched pieces of paper. Top layer is normal development, first paper divider with one notch is +1 development, and the second paper divider has two notches and thus, +2 development. This is all enclosed in a light resistant bag like normal. Every night I would remove the sheets I exposed that day and place them in their proper place in my Arista box. Then load new film into the holders. I did this all in the stateroom’s bathroom, using it as a makeshift darkroom, blocking any extraneous light with extra towels.
This is my first time traveling with a large format camera and it was a great success. My wife and I went on a cruise and we really enjoyed the heck out of it. I took a lot of photographs— I exposed the whole box of HP5+ in less than a week. Certainly a record in shooting sheet film for me. This was a great follow-up to my last blog where I talked about photographing more to get better results. I can’t wait to travel more, see new places, and shoot more film! Now I have to get back to work and develop a whole lot of film. Thanks for reading and see you all around next time.


Learn anything, gain insight, or save a buck or two? Please support me in any of the following:
Sign up for the newsletter and follow my art journey. (Bottom of page)
Buy me some film. (One time donation)
Check out my shop. (Drawing, painting, photography)